The first time I ate a black walnut, I thought I was going to die. I told you that this summer, in a note about using young walnuts to make a liqueur called nocino.
I was younger than ten. The chemical aroma, the lacerating shell, and the oxidized hull’s transformation from healthy green to deathly black all said don’t eat me, but I was spooked before I opened the nut. For years, I had watched bruised black walnuts pile up on our street. My plant guide told me that the nuts were edible, but I wasn’t confident in that. If the nut in my hand really was a walnut, and it really was safe to eat, then wouldn’t everyone be eating it? I had only ever seen people haul walnuts away in lawn bags while muttering about driveway stains. You might as well have told me that grass clippings and roadside litter made a nice tea. Leaning against my parents’ house that afternoon, I felt queasy and excited, thinking that I had either made a devastating mistake or found something exciting right there in our backyard.
I lived to see another walnut season, and I’ve seen twenty or so since, but I still feel a sense of discovery each fall. I’m still impressed when I crack a foraged nut and the meat inside tastes like black walnut: rich, fruity, unmistakable, a luxury accessible to anyone with the determination to excavate it. The earthy, umami-rich native black walnut is to the standard-issue walnuts at the supermarket what grassfed, dry-aged beef is to the pink steaks on the back wall. When I get that flavor from a wild-harvested nut, I feel like a prospector in pay dirt. You can buy black walnuts, but chiseling one of the heartland’s most distinctive and expensive ingredients from heaps of biomass is worth your time.
You probably have black walnuts on the ground in your neighborhood right now. Take a walk. Unless you’re so far north that you’re already thinking about winter, you’ll likely stumble across some of those yellow-green nuts eventually. Come back with a bucket. Pick them up. This is going to be the year that you enjoy some of your local walnuts. Just think about how impressed your friends and family will be when you serve black walnut ice cream, fudge, cookies or pie at a holiday dinner. Or how about a walnut-coated cheese ball? You can tell them that it’s courtesy of the tree down the block.
Yes, processing black walnuts takes work. It isn’t necessarily hard work, but it can be time-intensive, and it is messy, so when I tell you to wear gloves and old clothes, I mean it. But what’s a little effort and mess for a free supply of protein-rich, antioxidant-loaded native walnuts? Keep reading for my steps to success, and watch your inbox for black walnut recipes that justify this age-old fall foraging project.
How to process black walnuts
1. Gather
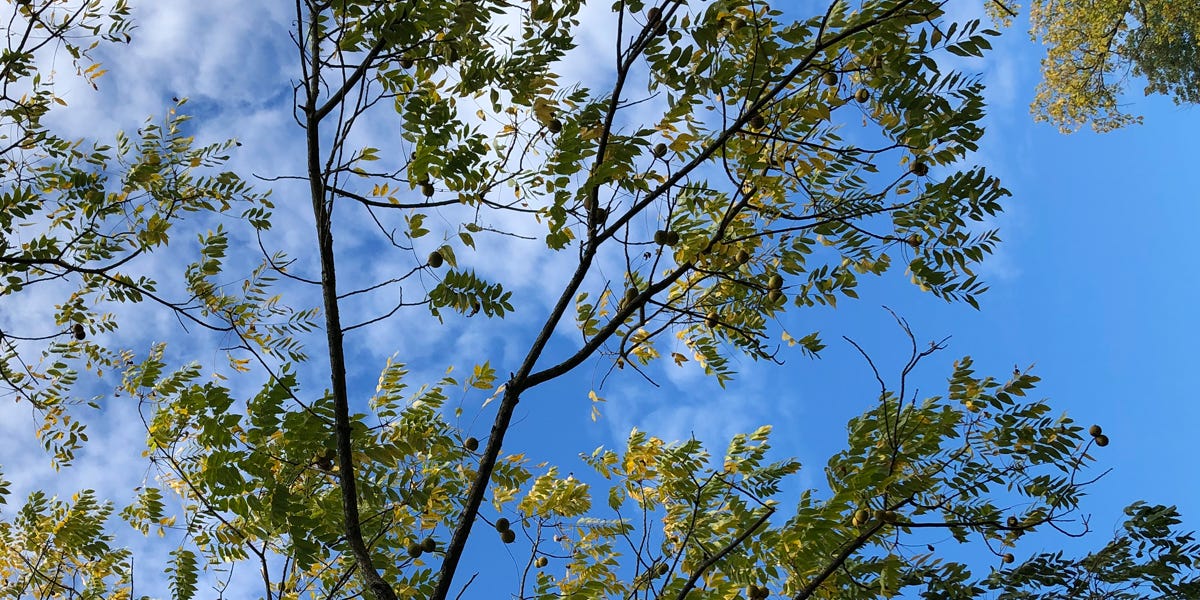
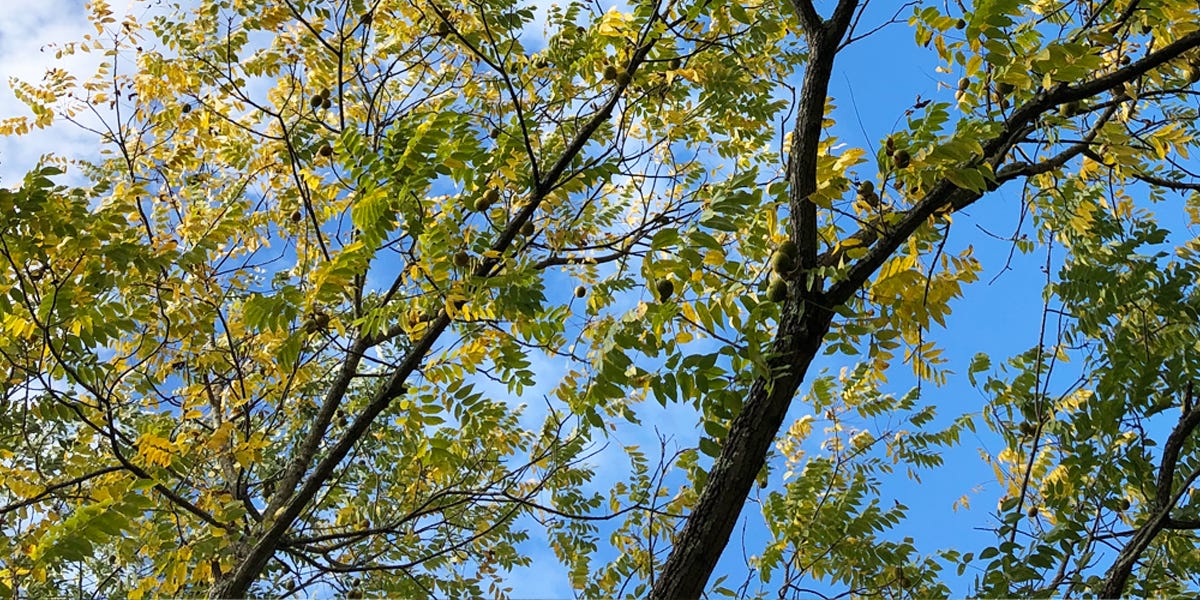
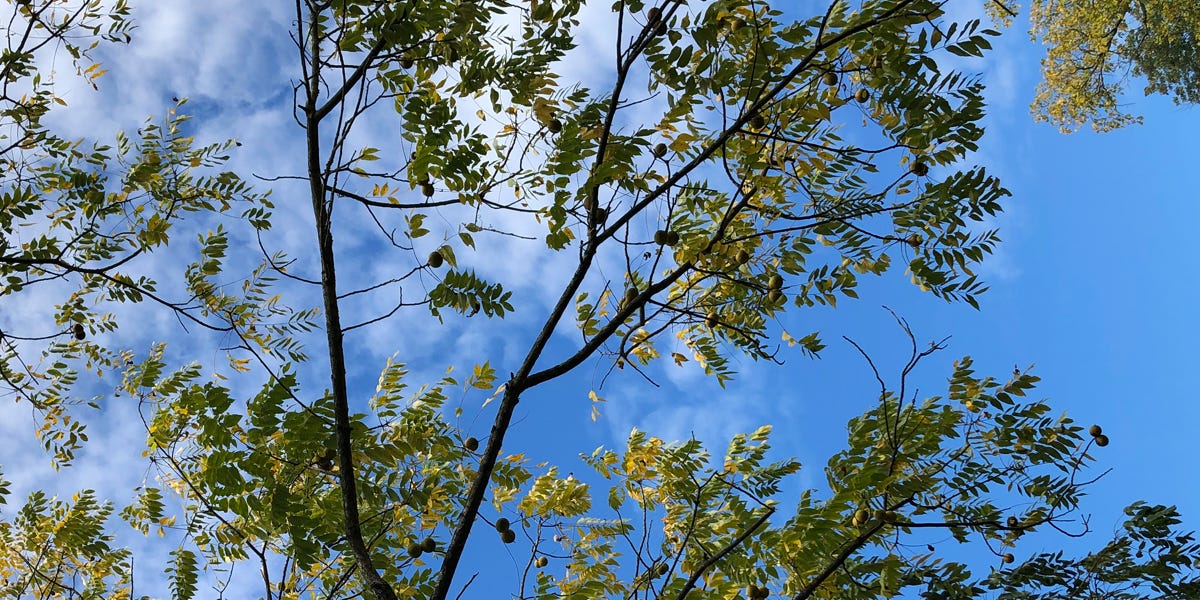
Maybe you have a walnut tree growing in your backyard. If so, you have an opportunity to make the most of a high-intensity tree that can test your patience at times, poisoning other plants with a chemical called juglone and staining surfaces black with its leaves and nuts. If you don’t, take that walk around the block. Explore a local park. Nuts on public property are often fair game. I’ve filled bags on the side of the road, though I’d recommend looking elsewhere first.
Sometimes, you’ll get lucky asking homeowners if you can take their walnuts. Maybe six or seven years ago, desperate for walnuts after a few years living on the coast, I resorted to knocking on doors while traveling in walnut country, asking the people who answered if they’d let me clean up their lawns. My first stop was a midcentury ranch house somewhere between farm country and suburbia. I saw a few healthy walnut trees in the front yard and pulled over. When the owner stepped out, she didn’t look happy to see me. Then I told her why I was there. She smiled. Hang on, she said, and went to the garage. She came back with buckets of withered walnuts. Take these, and everything on the lawn, she said. Please. In my experience, most walnut-weary homeowners are about as attached to their walnuts as we are to our honeysuckle.
Ask around. Our new neighbors have two walnut trees that, like many others, produce bumper crops only every other year. This is an off year for their trees, but they have already enlisted me to handle cleanup next year. “You won’t even be able to see the grass in the fall,” they said.
An ambitious forager can gather heaps of black walnuts without investing much time or spending any money. That can be a curse. Each nut adds to your workload. Depending on your process and equipment, you may find yourself scrubbing one shell at a time, and your neighbor’s walnuts won’t feel so much like freebies then. You might as well dream big on harvest day, because most walnuts go to the squirrels anyway, but don’t put yourself in a position where you’re staring down a pile of rotting nuts for months. I’m speaking from experience.
Today, I work through a few buckets at a time over the course of about a month. Maybe you’d rather get the work out of the way in one day, but I like to keep the process quick and easy as I stash the year’s harvest away in stages. I can dump, stomp, spray, agitate, rinse, and set the nuts out to dry in about half an hour. If you aren’t overly excited about black walnuts, one thirty-minute session might give you all you need. Because black walnuts grow so abundantly here, I generally pick them up while working on other projects rather than going out on walnut-focused foraging trips.
2. Hull
You need to remove the hulls from your walnuts, recognizing that walnut hulls are used to make inks and dyes and can stain your clothes and skin. This is where the work gets messy. One of my gloves broke during this step a few years ago, and for weeks, I had to explain why my thumb was tattooed an ominous yellow-black. Wear gloves—either gloves that you’re willing to stain or several layers of disposable gloves. Watch your thumbs.
To remove the hulls, I stomp them. I spread a handful of walnuts across a patch of dirt or grass and crush them under my work boots. Don’t wear shoes that you aren’t willing to stain. Don’t hold back when you stomp. You will not break the shells, used to make industrial-strength abrasives. With gloved hands, remove the smashed hulls. Discard them unless you’re feeling creative enough to make walnut ink.
Some people hull walnuts with hammers. Others run them over with their cars, which can work well but will stain your driveway. Now and then, I hear about old timers letting the hulls rot off. That method doesn’t appeal to me, but maybe it gets your attention. The nutshell is tough enough that not much can penetrate to the meat, so that method may be safe, but I’d rather peel the hulls off fresher nuts.
I’m going to lose some of you when I say this, but it has to be said: You may find small, wormy-looking critters in some of your hulls. Those are husk fly larvae. They can’t get through the walnut’s shell and will not affect the nutmeat inside. Just discard them with the hulls.

3. Clean
The process gets easier from here.
With gloved hands, wash your walnuts, removing as much of the hull as possible. I’ve scrubbed them one-by-one in a sink and blasted dozens at a time with a pressure washer. I recommend the pressure washer if possible, but my usual setup requires only a hose with a sprayer attachment and a five-gallon bucket. Spray the nuts down, then vigorously stir the walnuts around the bucket with a stick or your gloved hands. Let the walnuts’ shells scrub each other clean. Remove any nuts that float. That means the nutmeats inside did not develop properly. You may find a few of those floaters in any given bucket of nuts.
4. Cure
Set your walnuts out to dry in a cool, dark place with good airflow. I like to start them on a rack or screen and then transfer them to mesh bags in the attic once they look dry. Beware wet spots. Let them cure for two or three weeks.
When the nuts are cured and ready to eat, you should hear a faint rattling when you shake them. At that point, you can store them in their shells at room temperature for up to a year. I leave my bags hanging in the attic until I’m ready to crack a batch of nuts.
5. Crack
You’ve had some time to recover before what may be the most challenging step. But if great-grandpa could crack black walnuts for his fudge, then you can, too. Without specialized equipment, the best method is to wrap your walnuts in an old towel—the hard shells will ruin it—and tap them with a hammer. You’ll get into a rhythm.
Some people use vices, increasing pressure on the walnuts til they split. I recommend a nutcracker, but not just any nutcracker. You need a walnut-caliber cracker like the one we featured last week. After cracking the shell, pick the nutmeat out with a nutpick or pliers. If you have access to a wirecutter, consider using that to cut the meat out of the shell as you go. Refrigerate your nutmeats for up to six months or freeze them for a year or two.
If you want to try harvesting walnuts but don’t want to bother with processing them, you can make some spending money selling your fall bounty to Hammons Black Walnuts, a Missouri-based company that operates processing stations across the Midwest and into Kentucky, Tennessee, Arkansas, and Oklahoma. Click here to find the one closest to you. Their season opens today and will end in mid-November.
And if you want to try cooking with black walnuts before you commit to everything I described above, you can order wild black walnuts from Hammons or buy their product at a number of stores, including Costco, Kroger, and Walmart.